How to Check and Change Your Car’s Coolant?
Introduction
Proper maintenance of your car’s cooling system is essential to ensure optimal engine performance and prevent overheating. One crucial aspect of this maintenance is regularly checking and changing your car’s coolant. In this guide, we will walk you through the steps to effectively check and change your car’s coolant, keeping your engine cool and running smoothly.
Step 1: Safety First
Before you begin, make sure your car is parked on a level surface and the engine has cooled down completely. It is essential to take precautions to avoid burns from hot coolant or other components.
Step 2: Locate the Coolant Reservoir
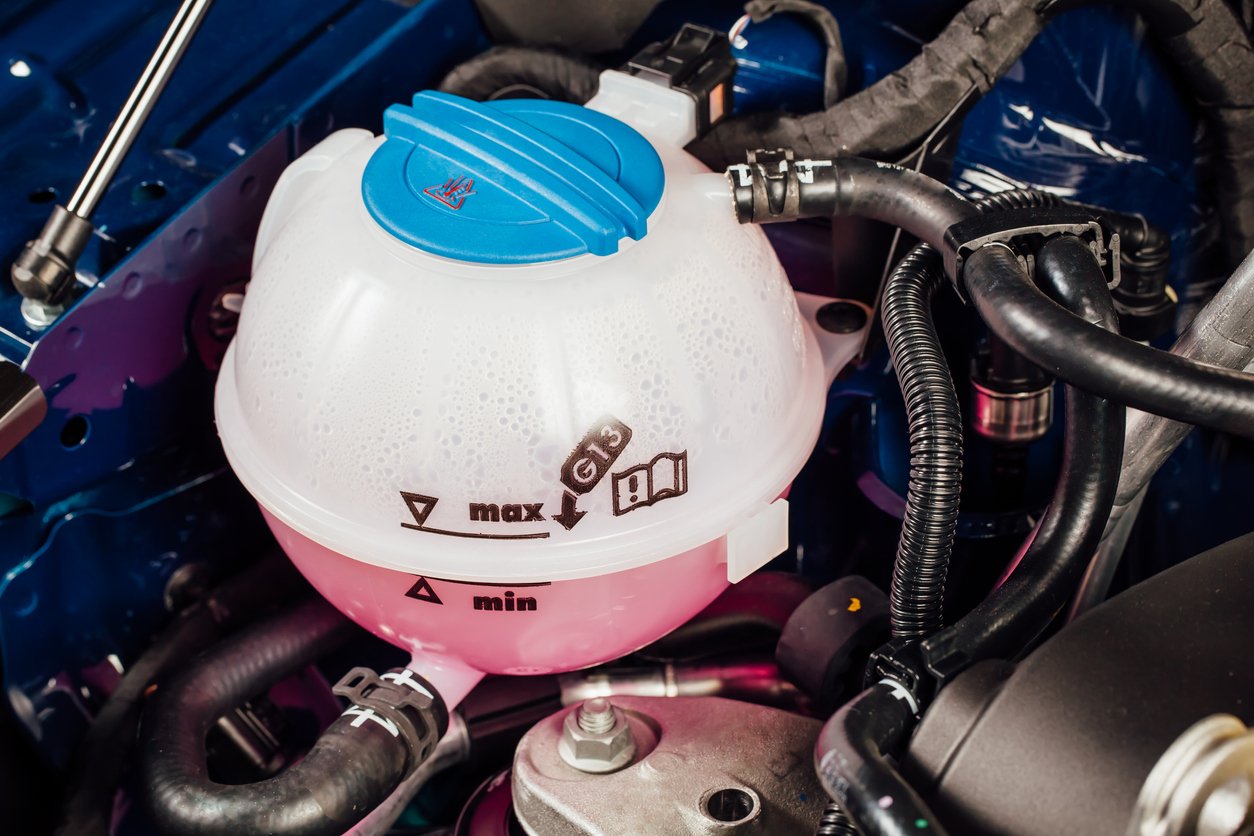
Open the hood of your car and locate the coolant reservoir. It is usually a translucent plastic tank marked with “coolant” or “antifreeze.” The reservoir may have a minimum and maximum level indicator, making it easier to check the coolant level.
Step 3: Check the Coolant Level
Inspect the coolant level by looking at the markings on the side of the reservoir. If the level is below the minimum mark, it indicates that your car needs more coolant. If the level is consistently low, it might indicate a leak in the cooling system, and you should have it inspected by a professional.
Step 4: Checking Coolant Condition
While checking the coolant level, also examine its condition. The coolant should be a vibrant color, such as green, orange, or pink, depending on the type of coolant used. If the coolant appears dirty, cloudy, or has floating debris, it is time to change it.
Step 5: Preparing to Change the Coolant
Before changing the coolant, ensure you have the necessary tools and materials. You will need a pair of gloves, safety goggles, a drain pan, a funnel, and the correct type of coolant recommended by your car’s manufacturer. Refer to your car’s manual for the specific coolant type and capacity.
Step 6: Draining the Old Coolant
Place the drain pan under the radiator drain plug, which is usually located at the bottom of the radiator. Carefully open the drain plug and let the old coolant flow into the pan. Once the coolant has completely drained, close the drain plug securely.
Step 7: Flushing the System (Optional)
While not always necessary, flushing the cooling system can help remove any residual debris or contaminants. Follow the instructions on the coolant flush product carefully, if you choose to perform this step.
Step 8: Refilling with New Coolant
Insert the funnel into the coolant reservoir and carefully pour the new coolant into the system. Fill it up to the maximum level indicated on the reservoir. Take care not to overfill, as it can lead to coolant overflow during operation.
Step 9: Bleeding the System (If Required)
Some cars may require a specific process to remove air pockets from the cooling system. Refer to your car’s manual to determine if your vehicle needs to be bled. If required, follow the instructions provided to ensure proper coolant circulation.
Step 10: Checking for Leaks
After refilling the coolant, start your car and let it run for a few minutes. Keep an eye out for any signs of leaks, such as dripping coolant or steam. If you notice any leaks, turn off the engine and have the cooling system inspected by a professional.
Conclusion
Regularly checking and changing your car’s coolant is a simple yet crucial maintenance task that helps keep your engine running smoothly and prevents overheating. By following these steps, you can ensure that your car’s cooling system remains in optimal condition, prolonging the life of your engine and enhancing your overall driving experience.


