How To Conduct A DIY Car Wheel Alignment with Few Easy Steps
Introduction
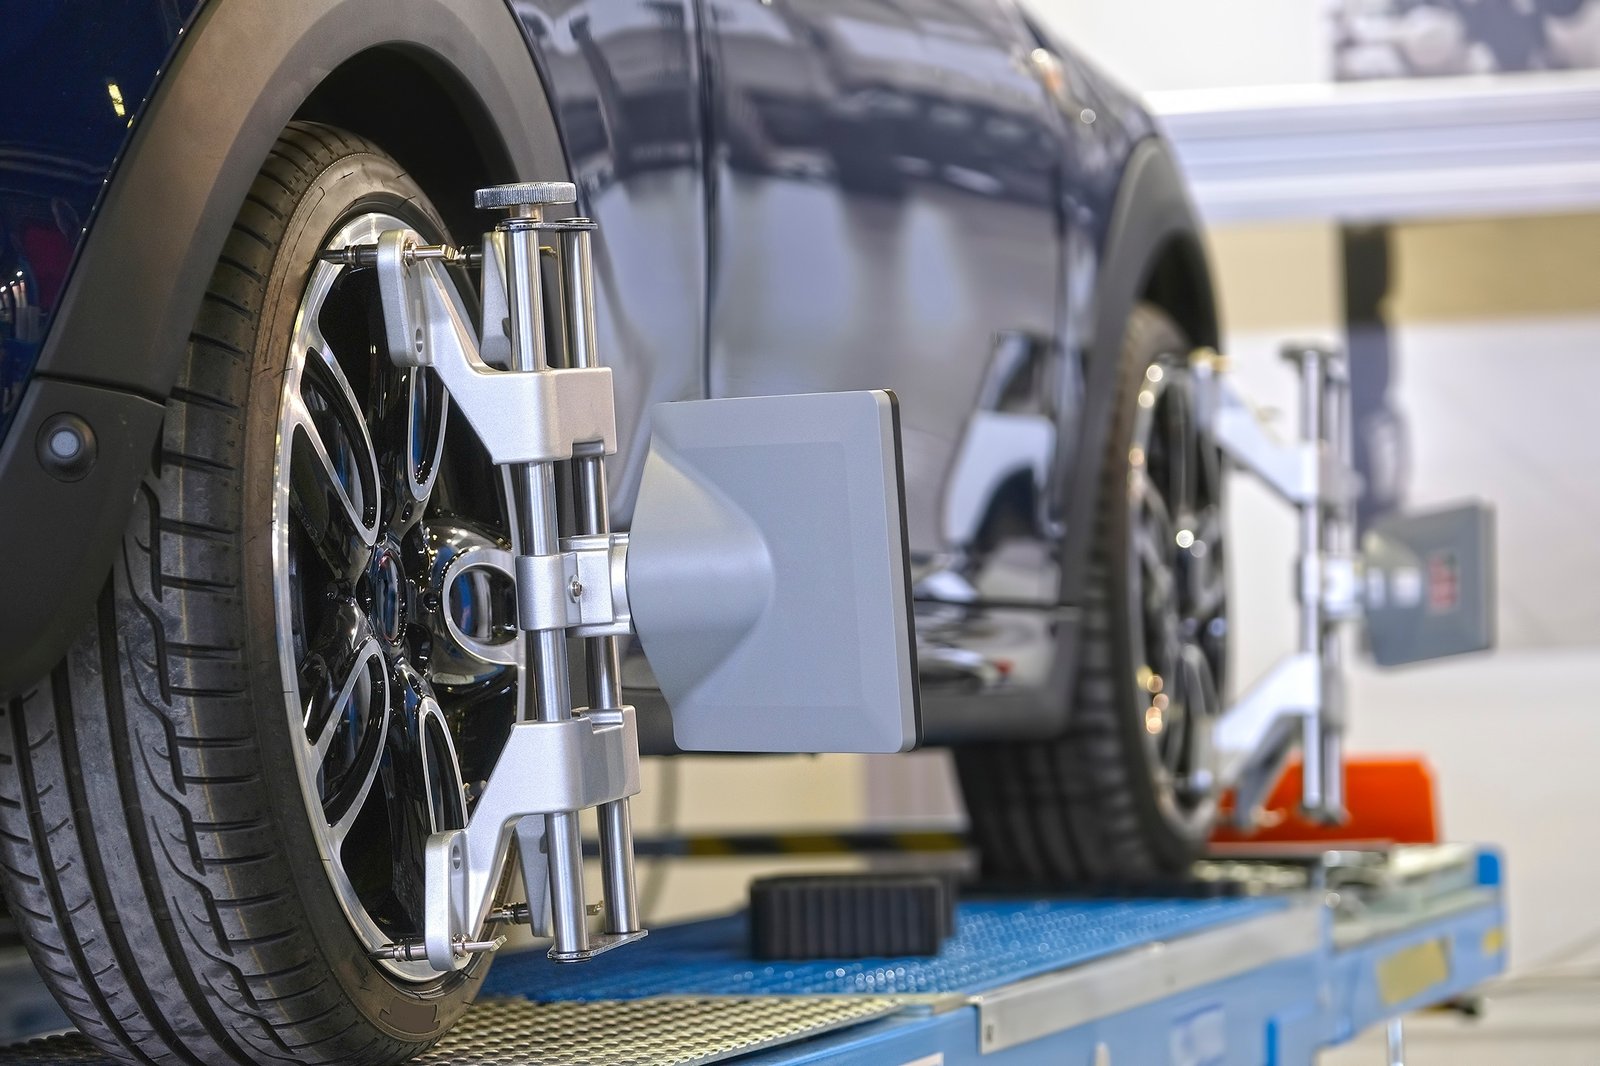
Proper wheel alignment is crucial for the overall performance and safety of your vehicle. It ensures that your car’s wheels are correctly positioned, allowing for optimal handling, tire wear, and fuel efficiency. While it’s recommended to have a professional perform a wheel alignment, you can also conduct a DIY car wheel alignment with a few easy steps. This guide will walk you through the process.
Step 1: Find a Level Surface
Start by finding a level surface where you can safely perform the wheel alignment. This can be your driveway or an empty parking lot. Make sure the ground is flat and free from any obstructions that could interfere with the process.
Step 2: Measure the Toe
The toe refers to the angle at which the tires point inward or outward when viewed from above. To measure the toe, you’ll need a measuring tape or a string. Place the tape or string against the sidewalls of the front tires, making sure it’s parallel to the rear tires. Measure the distance between the front and rear of the tires on both sides. Ideally, the measurements should be the same, indicating that the toe is properly aligned. If the measurements differ, you’ll need to adjust the tie rods to achieve the desired alignment.
Step 3: Adjust the Toe
To adjust the toe, locate the tie rods underneath the vehicle. These are connected to the steering mechanism and control the alignment of the front wheels. Loosen the lock nuts on the tie rods and make small adjustments by turning the rods. Keep measuring the toe as you make adjustments until the measurements are equal on both sides. Once you’ve achieved the desired toe alignment, tighten the lock nuts to secure the adjustment.
Step 4: Measure the Camber
The camber refers to the angle at which the tires tilt inward or outward when viewed from the front of the vehicle. To measure the camber, you’ll need a camber gauge. Place the gauge against the wheel and adjust it until it’s level. Read the measurement on the gauge to determine the camber angle. Compare the measurements on both sides of the vehicle. Ideally, the measurements should be within the manufacturer’s recommended range. If not, you may need to consult a professional for further adjustments.
Step 5: Adjust the Camber
Adjusting the camber requires specialized tools and expertise. It’s best to consult a professional if you need to make camber adjustments. They will have the necessary equipment and knowledge to ensure the camber is properly aligned without compromising the safety and performance of your vehicle.
Step 6: Check the Caster
The caster refers to the angle of the steering axis when viewed from the side of the vehicle. It affects the stability and steering of the car. Checking the caster requires a caster angle gauge, which is a specialized tool. If you suspect any issues with the caster, it’s recommended to have a professional inspect and adjust it.
Conclusion
While a professional wheel alignment is always recommended, conducting a DIY car wheel alignment can be a cost-effective option if you have the necessary tools and knowledge. By following these few easy steps, you can ensure that your vehicle’s wheels are properly aligned, leading to improved handling, tire wear, and fuel efficiency. Remember to regularly check and maintain your car’s wheel alignment to keep it in optimal condition.


